 Popcorn ceilings were at their peak popularity 68 years ago. So why do you still have them in your home?
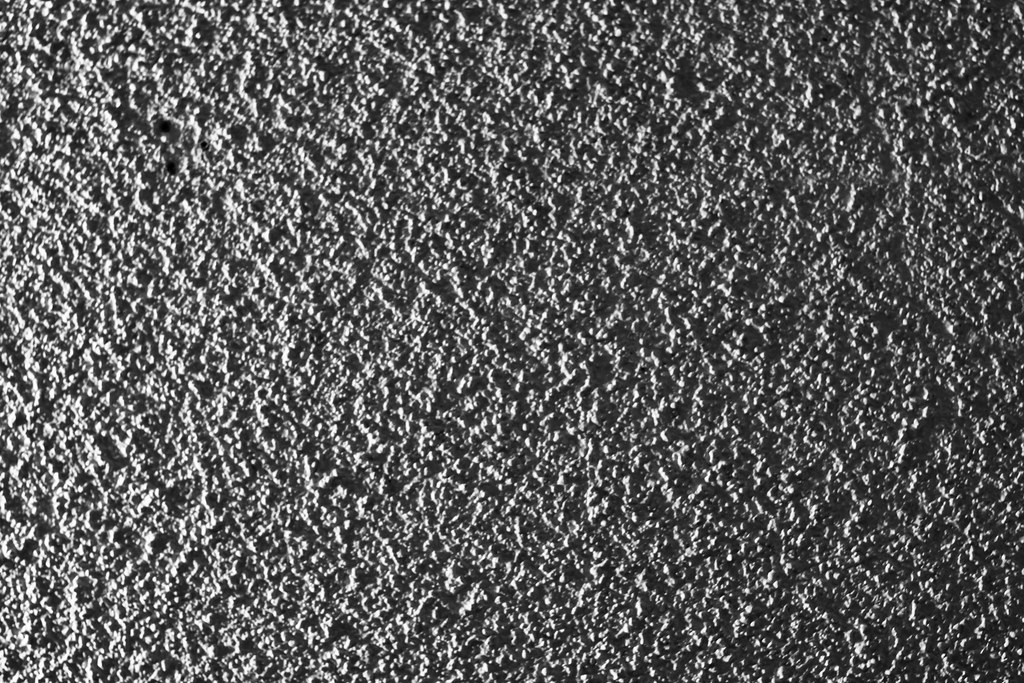
The textured ceiling is known for gathering dust, spider webs, and dirt. You don’t have to live in the past any longer! Popcorn ceiling removal is easy! For DIY enthusiasts, this project is simple but time-consuming.
Here is a complete guide for removing the popcorn from your Vancouver home.
1. Asbestos and Lead Test
Before you begin your project, you should test your ceiling for asbestos and lead.
If your home was built before the 1990’s there’s a strong chance you could expose yourself to asbestos and lead if you don’t take the proper precautions.
Asbestos is made from several minerals which are toxic to people. Breathing in the fibers can scar your lungs or cause cancer. Not something to mess around with!
In some cases, popcorn ceilings were coated with paint. Older houses, especially, are at risk of this. Lead paint is also toxic to people, causing cognitive health issues and other health risks for young children and pregnant women.
Types of Popcorn Ceiling Removal
There are two common solutions for removing popcorn ceilings from your home.
1. Wet Scraping Popcorn Ceilings
Wet scraping is the most common type of removal for textured popcorn ceilings. This method involves soaking the texture with water and physically scraping it off the ceiling. However, this method should not be used with painted ceilings, nor those that test positive for asbestos.
Before taking this large project on, scrape a small section to make sure your ceiling will hold up to the soaking and scraping process. If your ceiling passes the scrape test, cover your floors and walls completely with plastic sheets. Then, remove all the furniture from the room.
You’ll need the following materials to scrape your popcorn ceiling:
- Plastic Painter’s Sheeting
- Painter’s Tape
- Electric Fan
- Respirator or Mask
- Ceiling Scraper Tool
- Water Pump Sprayer
- Mud Bucket (optional)
Begin by using your pump sprayer to cover a small section of your ceiling at a time with water. Don’t spray too much water, or you will damage your drywall. Let the water sit and absorb into the texture for 15-20 minutes.
If the texture doesn’t soften, its probably covered in paint. This will make the scraping removal method more difficult, but not impossible. Again, you will want to test for lead paint.
Once the water has softened the texture, use the ceiling scraper tool and mud bucket to scrape the texture off of the ceiling. be careful to avoid applying too much pressure and cause nicks and gouging in the existing drywall.
After you’ve completely removed the ceiling texture, section by section, you’re ready to prepare the surface for paint.
2. “Cover-Up” Popcorn Ceiling Removal
Rather than scraping your ceiling texture off, you can instead remove it without water by covering it up. This professional texture removal method hides the dated finish under layers of drywall compound to create a smooth, attractive ceiling surface.
The cover-up removal method is ideal when your popcorn ceiling has been painted or your ceiling tests positive for asbestos and lead. This method is also much less messy than scraping, with minimal dust and goop. However, covering up your popcorn ceiling requires some skills in skim coating.
You’ll need the following materials to cover up your popcorn ceiling:
- Plastic Painter’s Sheeting
- Painter’s Tape
- Step Ladder
- Drywall Compound
- 12″ Drywall Taping Knife
- 6” Drywall taping knife
- Mud Pan
It’s important to start with a clean, dry ceiling surface. Use a soft-bristled brush to clear away dust and cobwebs on the ceiling. Then, cover the walls and floor with plastic painter’s tarps.
Using a 12″ drywall knife, apply the drywall compound from the mud pan in long even strokes, using a healthy amount to ensure coverage. Work in sections to get full coverage, then go back over the section to smooth the compound.
Complete this first compound layer application across the full ceiling surface. Allow 24 hours to completely dry before repeating the process again.
This is a long process, working for hours above your head. Consider hiring a professional popcorn ceiling removal company if you don’t feel comfortable doing this project yourself.
Painting ceilings after popcorn texture removal

Whether you are able to DIY scrape your popcorn ceiling, or if you opt to cover it up with a skim coat, before it’s ready to go, it must be painted. Patch and smooth any blemishes and allow them to dry completely.
With any luck your ceiling will only require minimal sanding. Use a pole sander with medium grit sandpaper to smooth ridges and imperfections. It’s important to war masks or respirators and ensure excellent ventilation whenever you’re sanding.
Both a skim coat and exposed raw drywall require a coat of primer before being ready for paint. Apply the primer with a roller and brush, or use a sprayer for a fast, even base.
If DIY is sounding like more effort than it’s worth, most drywall companies offer painting services along with popcorn ceiling removal services.
What can go wrong with DIY ceiling texture removal
Popcorn ceiling removal looks simple, but there is a knack to it. Without experience, it’s easy to damage the underlying drywall and cause more time and money to be spent on the project.
Worst case scenario, when you take on a popcorn ceiling texture removal project on your own, you get part way through and realize you’re in over your head. Then you’re left with one smooth patch and a full ceiling of texture. It looks worse than when you started.
If you don’t mind spending hours with your arms above your head and drywall bits in your eyes, ears, and nose, then give popcorn ceiling removal a try. If that’s not your cup of tea, consider hiring some help.
Hiring a Professional For Ceiling Texture Removal
Completing a project as big as popcorn ceiling removal, especially if you also plan on renovating the entire house, may be best to leave to the professionals.
Professional drywall ceiling texture removal generally costs $5-$15 per square foot.
If you live in the Toronto area and are looking for a reliable drywall company, consider Envision Built Contracting. Contact us for a free consultation.